Quiet Exercise Bikes Perfect for Apartments & Renters

💡 Disclosure: This post contains affiliate links. If you purchase through these links, we may earn a small commission at no extra cost to you.
Quick Answer
The best exercise bike for a small apartment has magnetic resistance, a steel frame, a belt drive, and an assembled footprint under 40" × 20". Target the $300–$600 price tier for daily use. Look for a flywheel of 18 lbs or more and a frame warranty of at least 3 years. Folding models are ideal when storage space is tight.
Top pick: Sunny Health & Fitness SF-B1805 — 44 lb flywheel, 40 resistance levels, 5-year frame warranty, under $450. View on Amazon →
In this guide
What is an exercise bike?
An exercise bike — also called a stationary bike or indoor cycling bike — is a piece of cardiovascular fitness equipment designed to simulate the motion of outdoor cycling without forward movement. You pedal against a resistance mechanism, elevating your heart rate and engaging the lower-body musculature, all from a fixed position in your home.
Unlike treadmills or ellipticals, exercise bikes are inherently low-impact. Your joints — knees, hips, ankles — never absorb jarring force because your feet remain in contact with the pedals throughout the full rotation. This makes the exercise bike one of the safest long-term cardio tools available, suitable for all fitness levels and many rehabilitation contexts.
How does it work?
At its core, an exercise bike uses either a flywheel (a weighted spinning disc) or an air resistance fan to create the sensation of load. As you pedal, energy transfers through the drivetrain to spin the flywheel. You increase or decrease resistance to mimic hills, sprints, or steady-state riding. The heavier and smoother the flywheel, the more authentic and consistent the ride feel.
Small Home Gym Note
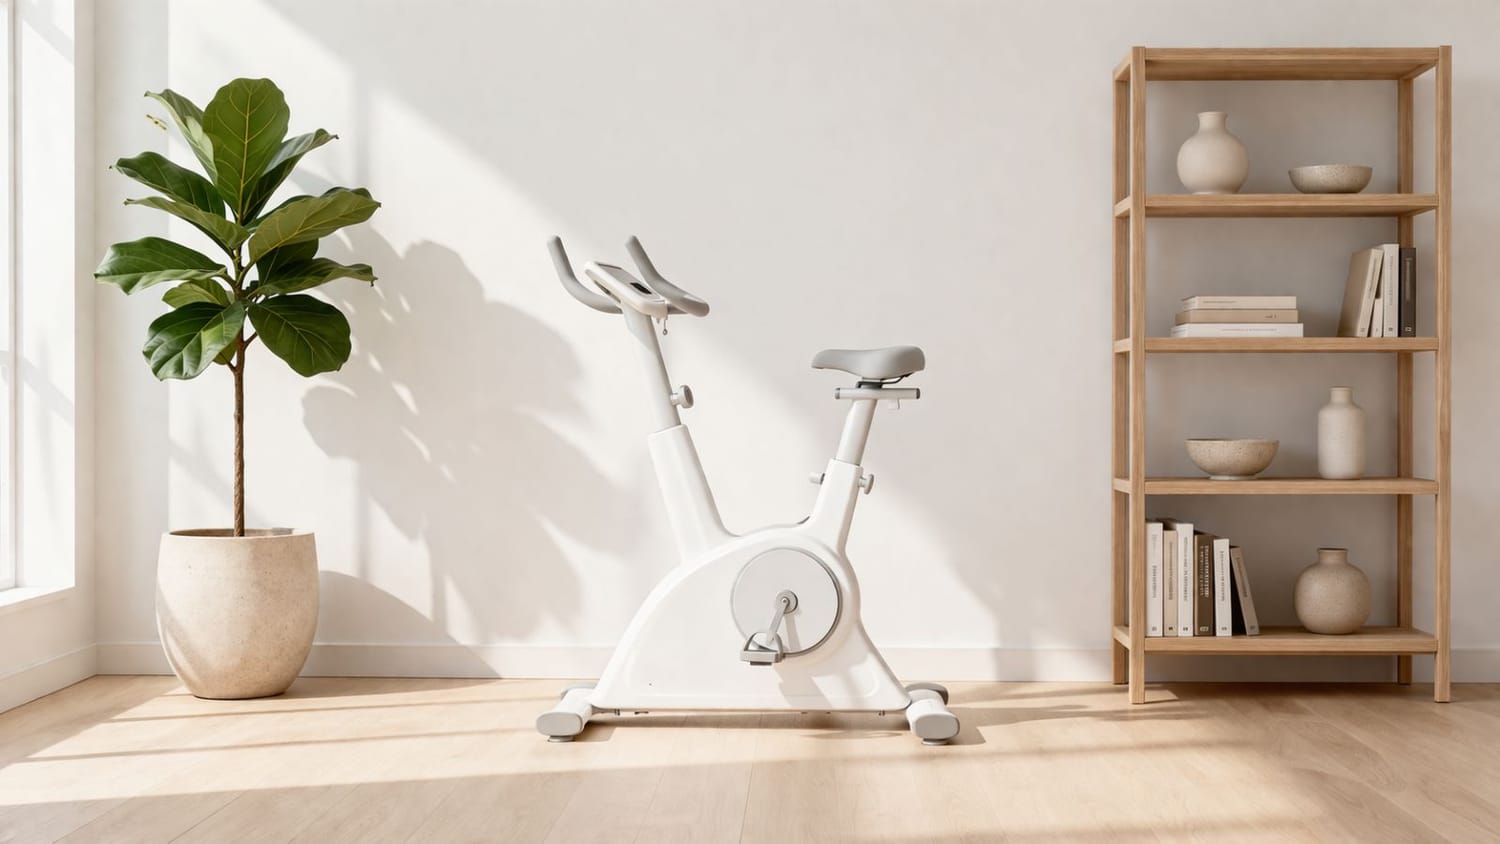
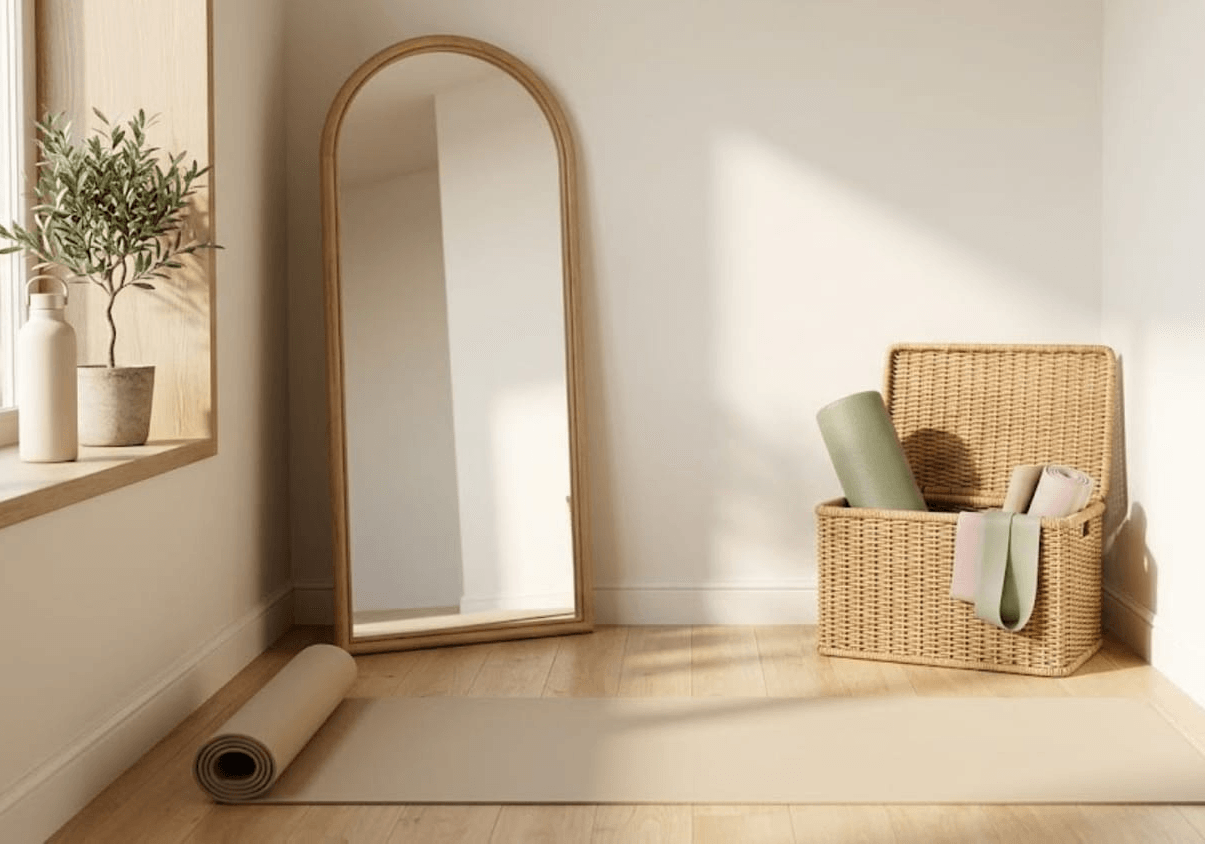
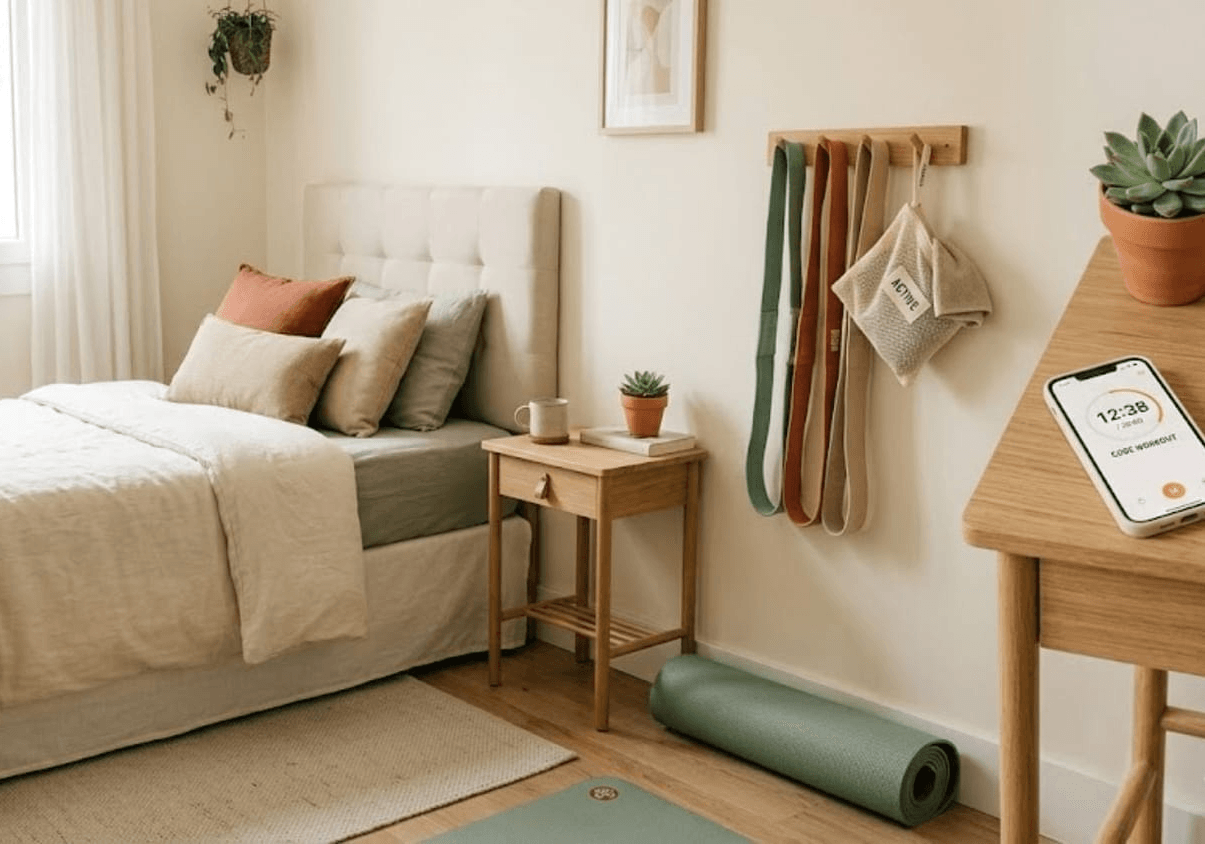
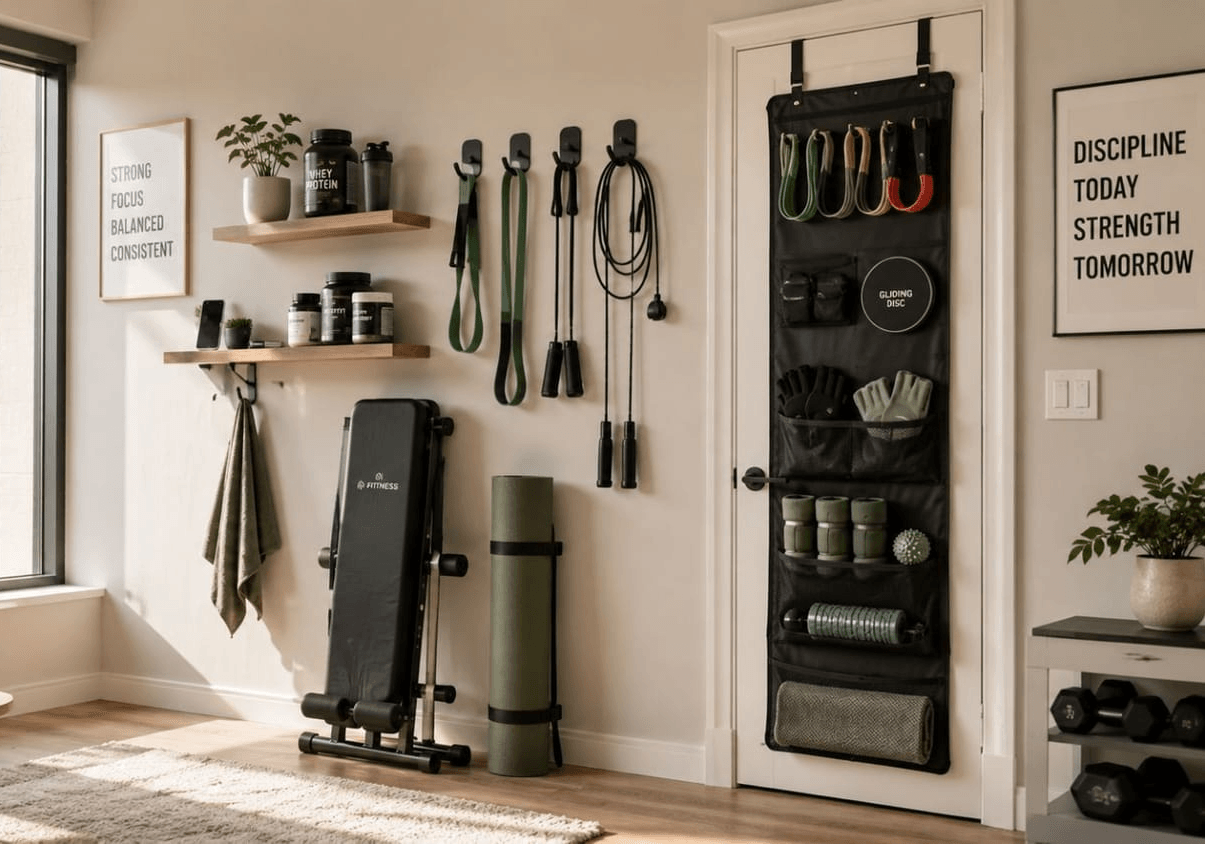
Exercise bikes are among the most apartment-friendly cardio machines available. Most upright and folding models fit within a 20" × 40" footprint — smaller than a standard office desk — making them ideal for compact home gyms where every square foot is intentional.
Who is it for?
Exercise bikes serve a broad audience. Beginners benefit from the forgiving seated position and adjustable resistance. Intermediate athletes use them for structured interval training and zone-2 cardio. Seniors appreciate zero-impact load. And anyone building a small home gym on a tight budget will find the stationary bike delivers more cardio value per square foot than nearly any alternative.
Related Guide
Marcy Foldable Upright Bike vs. Flex Bike Ultra — Which Is Right for Your Space?
The history of the exercise bike
The exercise bike has a surprisingly long lineage — far older than modern fitness culture would suggest. Its evolution mirrors the broader story of how society has approached indoor fitness: first as medical curiosity, then as luxury novelty, and finally as an everyday essential for small home gym setups worldwide.
1796
The Gymnasticon
Francis Lowndes patents the Gymnasticon in England — the earliest recorded ancestor of the stationary bike, built for patients with limited mobility.
1860s
The Velocipede era
Inventors mounted velocipedes on fixed frames for indoor pedaling. These were novelties found in parlors and gentlemen's clubs — the 19th-century boutique studio.
1960s–70s
The gym floor staple
Keiser and other manufacturers engineered purpose-built stationary bikes for commercial gyms, laying the groundwork for consumer home versions.
1989
Johnny G and the spin revolution
Cyclist Johnny Goldberg developed the Spinning® program and the dedicated indoor cycling bike with a heavy flywheel — transforming stationary cycling into high-intensity training.
2000s
The home gym migration
Brands like Schwinn and Sunny Health brought gym-grade magnetic resistance to consumer price points, making compact home gym setups newly viable for apartment dwellers.
2012–Now
Connected fitness and the Peloton era
Peloton launched in 2012 and redefined consumer expectations with live streaming, leaderboards, and a touchscreen. The connected fitness category now includes space-conscious models built specifically for small apartments.
Key terms to know before you buy
Walking into the exercise bike market without knowing the terminology is like reading a menu in a language you don't speak. Below are the eight terms that matter most, contextualized for small home gym buyers specifically.
Cluster Post
How to Set Up an Exercise Bike at Home — Full Setup Guide
Pros and cons of exercise bikes
No piece of fitness equipment is perfect. The good news: the exercise bike's strengths align almost exactly with what small-space, home-gym buyers need most. Here's an honest look at both sides before you commit.
The space-saving vs. durability trade-off
This is the central tension every small-home-gym buyer faces. Here's how it plays out across three price tiers:
⚠
Durability warning
A bike that breaks after 14 months is not a bargain at any price. The minimum durability floor for daily home use is a steel frame + magnetic resistance. Check warranty length: reputable brands offer 3–5 years on the frame and 1 year on parts.
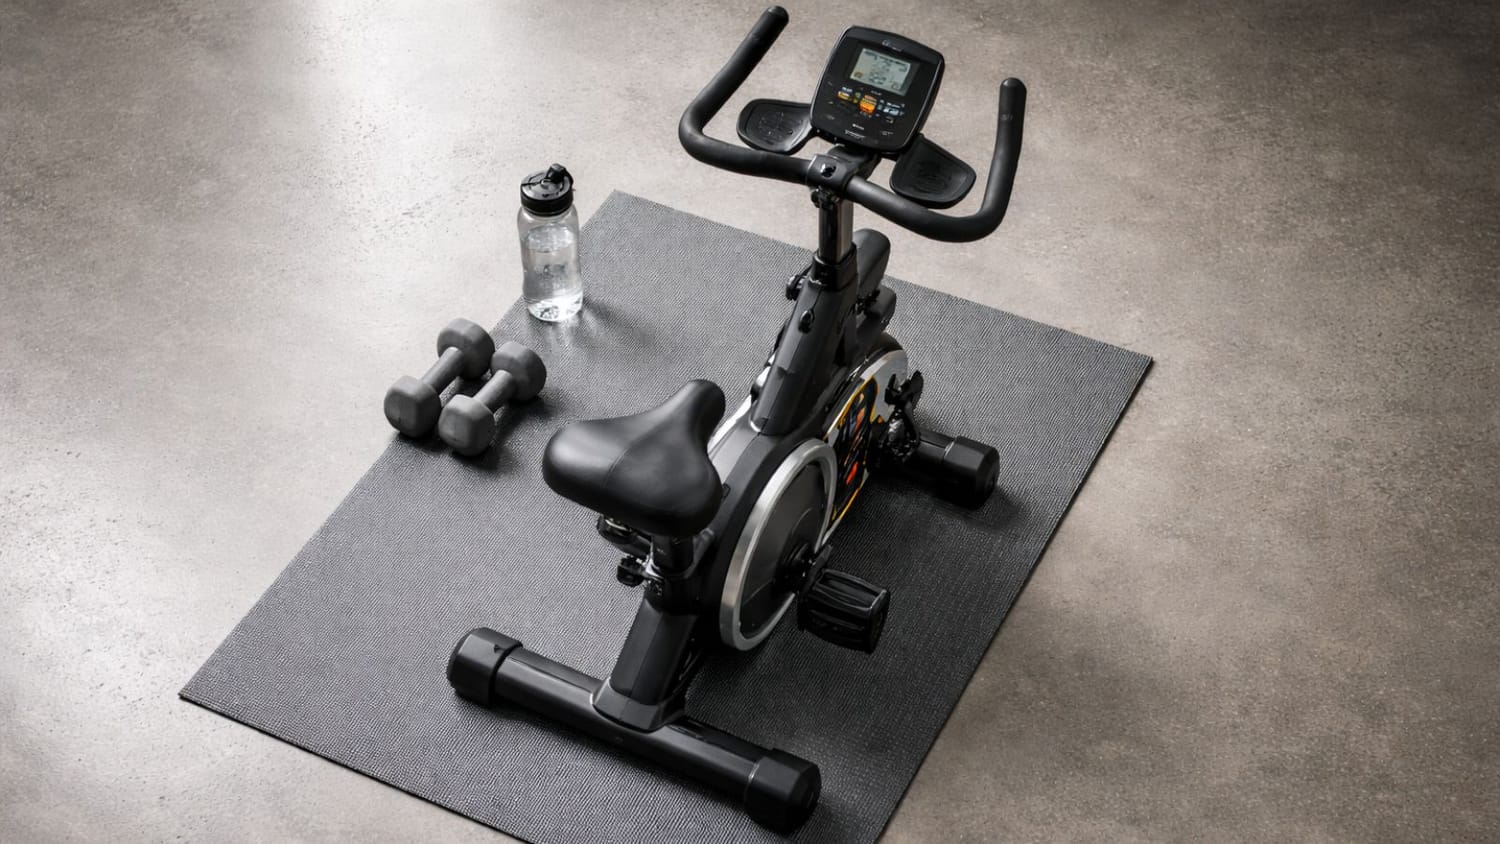
The 4 Best Magnetic Exercise Bikes for Small Apartments
Every model below features a footprint under 48" and whisper-quiet magnetic resistance — perfect for shared walls and tight corners.
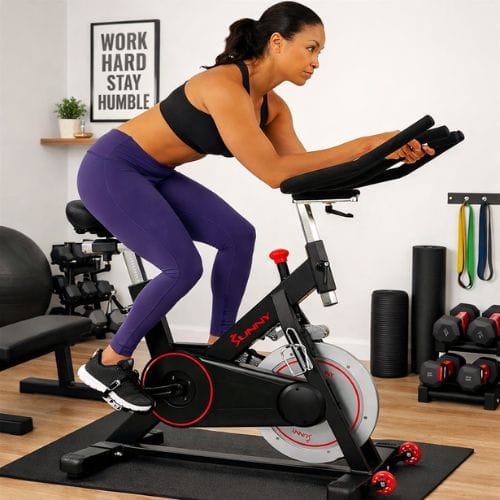
Sunny SF-B1805 Magnetic
Heavy Flywheel Pick →

YOSUDA Pro Magnetic
350lb Capacity Pick →
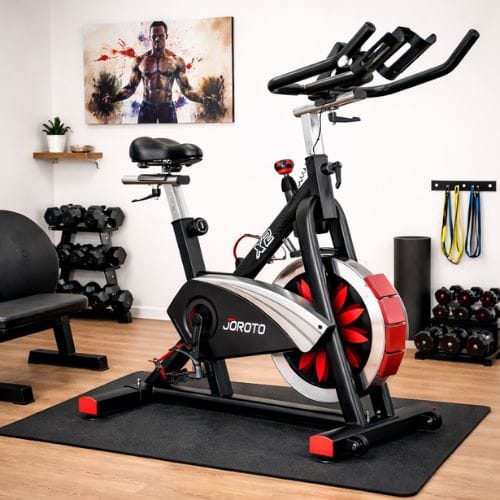
JOROTO X2 Whisper-Quiet
Silent Design Pick →
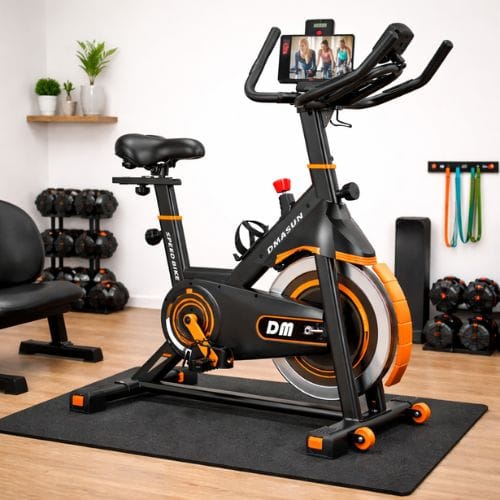
DMASUN Ultra-Compact
Smallest Footprint Pick →
Cluster Post
Best Foldable Exercise Bikes for Small Spaces (2026 Picks)
Modern design means your gym can live in your lounge, not just your garage.
How to set up an exercise bike in under 50 sq ft
Fifty square feet is roughly a 7-foot by 7-foot zone — the size of a large walk-in closet. It sounds tight. It is workable. With the right bike, a deliberate layout, and a few accessories that earn their footprint, you can build a genuinely effective cardio setup in that space. Here's exactly how.
Space allocation — 50 sq ft layout map
Bike
40"×20" footprint (~5.6 sq ft). Position along the longest wall.
Clearance
24" each side + 18" behind. Mount and dismount safely.
Storage zone
Remaining floor: mat, towel hook, phone shelf. Keep it empty.
Step-by-step setup guide
Choose a folding or compact upright model
Target a bike with an assembled footprint of 40" L × 20" W or smaller. Folding bikes that store vertically are ideal — they reclaim floor space the moment you're done. Avoid recumbent bikes entirely: their extended frame adds 15–20" of length you cannot afford.
✓ Look for: transport wheels + vertical foldPlace a high-density equipment mat first
Before the bike touches your floor, lay a 3/8" or 1/2" rubber equipment mat (typically 36"×72"). This protects your floor, dampens vibration transmitted to neighbors below, and defines your workout zone visually.
✓ Noise tip: mat reduces floor vibration by ~60%Set seat height before your first ride
Stand beside the bike. Adjust the seat to hip height. When seated with one leg extended at the bottom of the pedal stroke, you should have a slight bend (25–30°) at the knee. Formula: inseam (inches) × 1.09 = seat height from pedal axle.
✓ Wrong seat height = the #1 cause of cycling knee painSet handlebar height for your posture
For upright bikes, align the handlebar with or slightly above the seat to keep your spine neutral. In a small space, ensure at least 12" of handlebar clearance on each side — bumping elbows on a wall mid-session is a real hazard.
Mount your phone or tablet at eye level
Use a handlebar-mounted phone holder (under $15) to position your screen at eye level. Avoid propping your device on a shelf that forces you to look down — sustained neck flexion adds up across 30-minute sessions. Test your Wi-Fi signal strength from the exact bike position before committing to the location.
✓ Position screen 18–24" from your eyesCheck ceiling clearance
In a seated position on the bike, you will sit 8–12" higher than your standing floor height. Confirm you have at least 12" of headroom above your seated height. Low ceilings, ceiling fans, and light fixtures are silent hazards in converted bedroom or closet gym setups.
✓ Minimum ceiling: your seated height + 12"Establish a two-item "ready station"
A water bottle and a small towel are the only items you need accessible during a ride. Use a wall-mounted hook or handlebar cup holder. Every item on the floor of a 50 sq ft gym is a trip hazard — keep the floor completely clear except for the mat and bike.
Do a 5-minute test ride before finalizing
Get on the bike and pedal at moderate resistance for five minutes before drilling wall hooks or declaring setup complete. Check for: handlebar clearance, screen visibility, any frame wobble (tighten leveling feet), and ventilation. Small rooms heat up fast — confirm a fan or open window within reach.
✓ Small rooms: aim for one air change per 15 min of ridingCluster Post
Exercise Bike Workouts for Weight Loss — 4-Week Beginner Plan
Cluster Post
Recumbent Bike Benefits — Is It Right for Your Home Gym?
Beginner workouts to get started
You have the bike set up. Now what? These three beginner-friendly sessions are designed for your first 30 days. Each one works within the compact constraints of apartment living — no instructor required, no app subscription needed.
Workout 1 — The Steady-State Foundation (20 min)
Set resistance to a level where you can hold a conversation but feel your breathing elevated. Pedal at 70–80 RPM continuously for 20 minutes. No intervals, no sprints — just consistent effort. This builds aerobic base and lets your body adapt to the saddle. Do this 3× per week for the first two weeks.
Workout 2 — The 1:1 Interval Introduction (25 min)
After a 5-minute warm-up at easy resistance, alternate: 1 minute at high effort (resistance +4 levels, 90+ RPM) / 1 minute recovery (base resistance, 60 RPM). Repeat for 15 minutes, then cool down for 5 minutes. Total time: 25 minutes. This is your gateway to HIIT — do it 2× per week starting week three.
Workout 3 — The Climb Simulation (30 min)
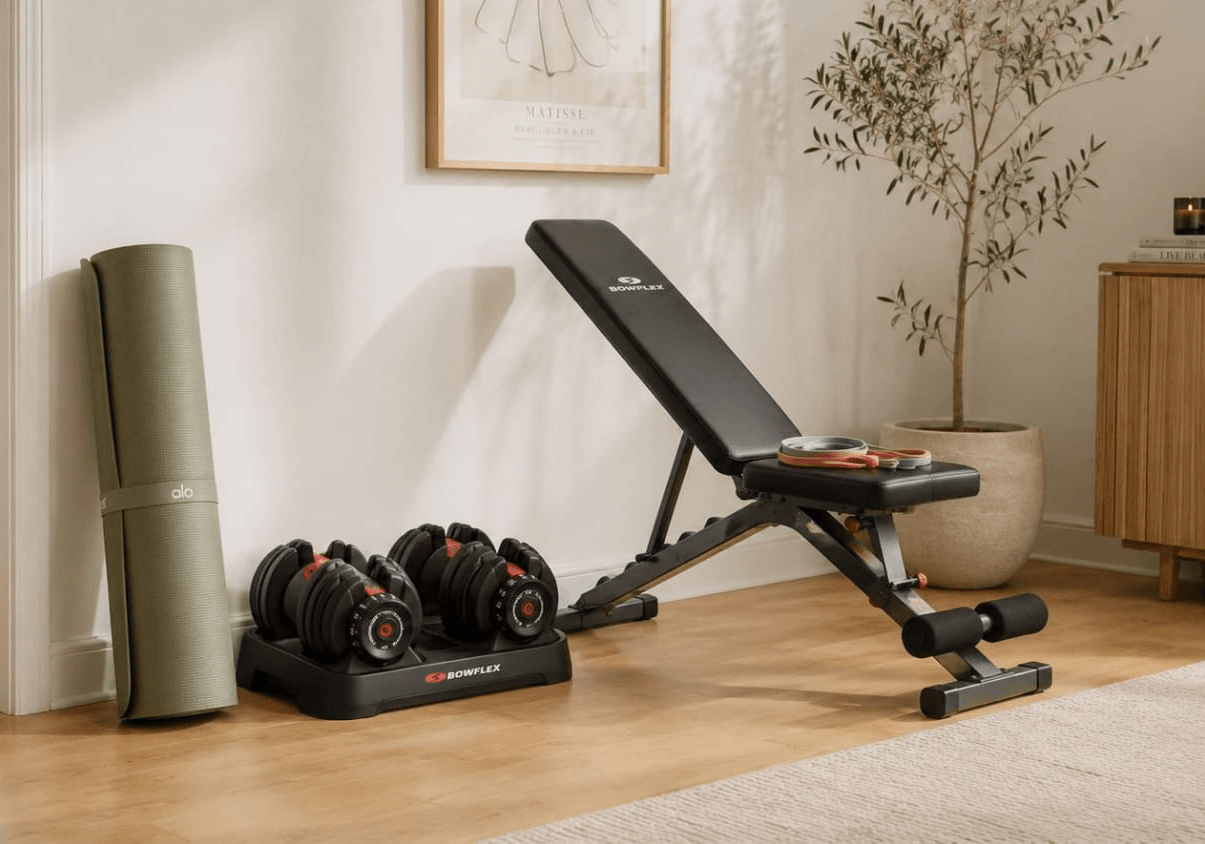
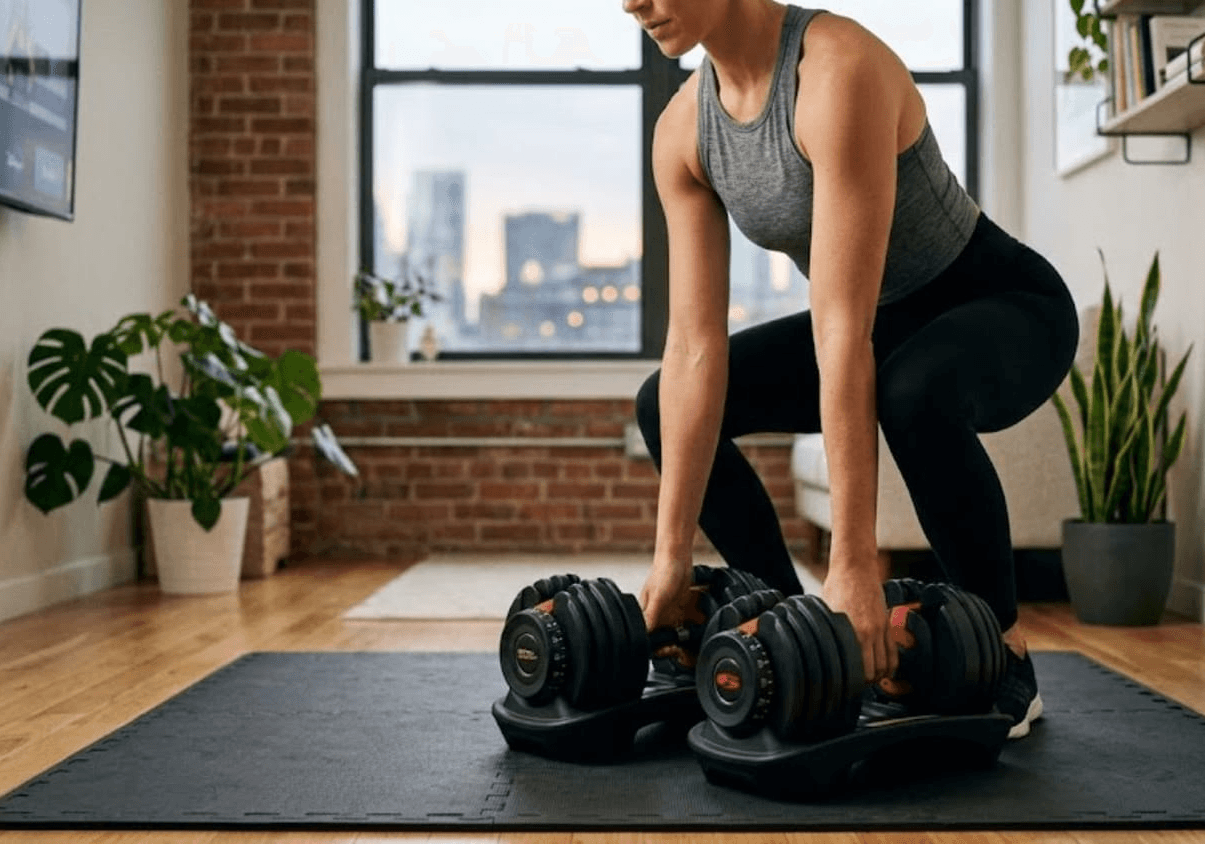
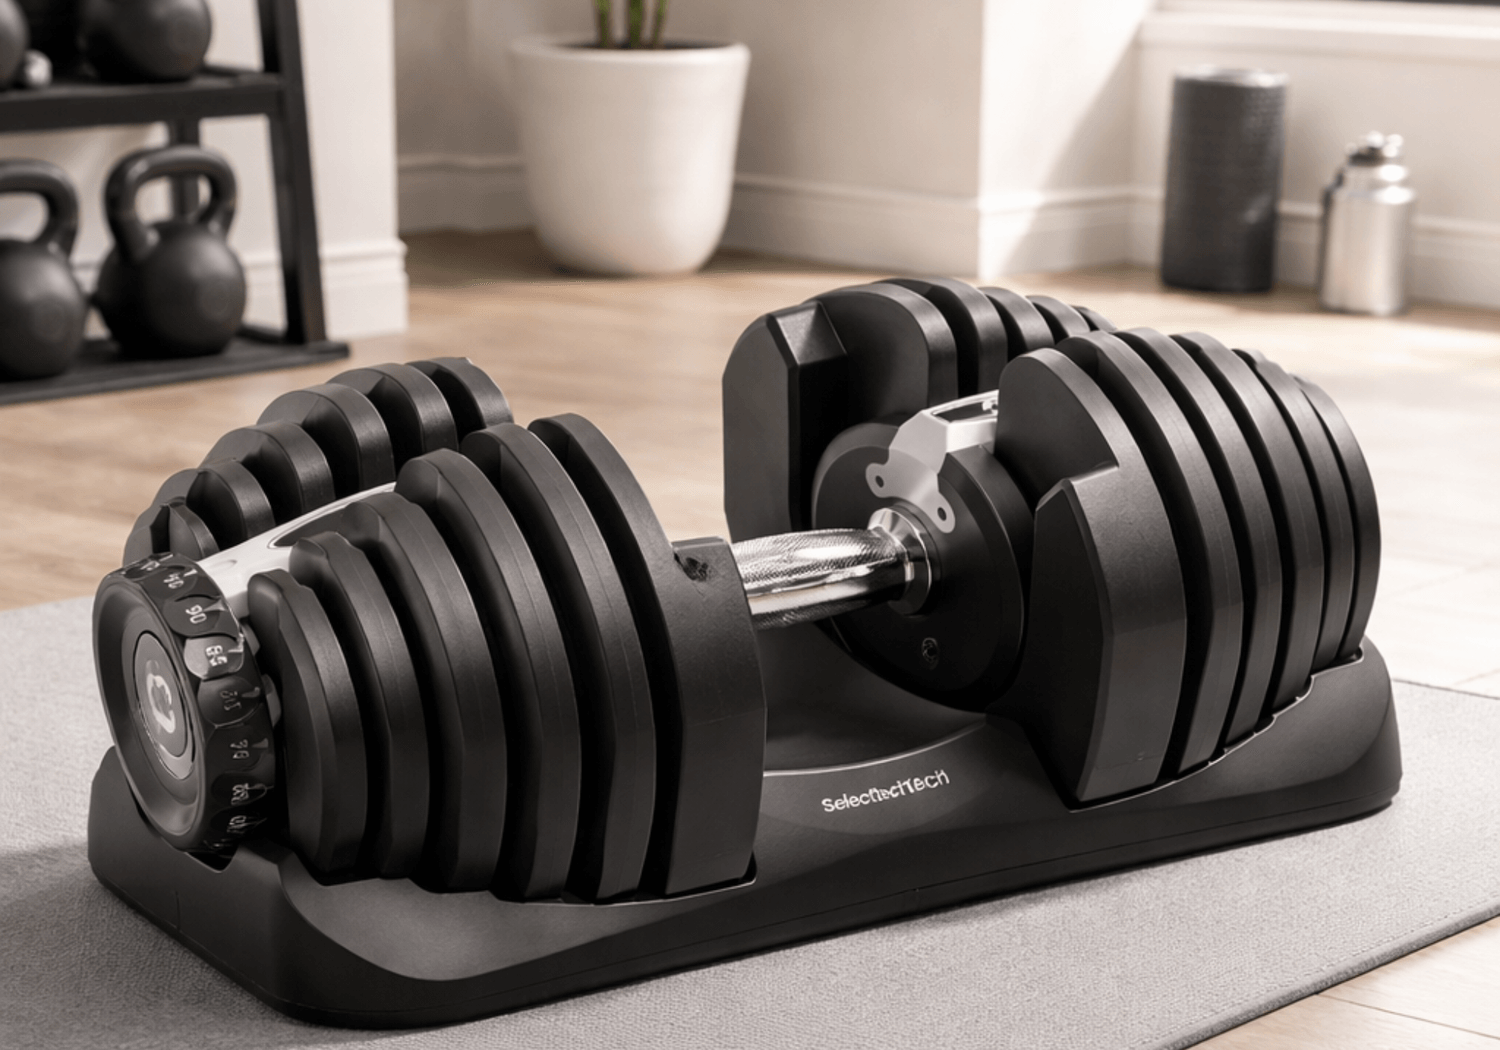
Warm up 5 minutes. Then every 3 minutes, increase resistance by one level while keeping cadence at 60–70 RPM — simulating a sustained hill climb. After 15 minutes of climbing, reverse the process (descend one level every 2 minutes) to cool down. Great for building leg strength without adding floor space needs. If you want to pair your cardio sessions with some upper-body work, a set of compact adjustable dumbbells for your apartment is the natural next addition.
Consistency tip
Place your bike where you'll see it daily — not tucked in a corner. Visibility is the single biggest predictor of usage frequency for home cardio equipment. A bike you step around is a bike you'll step on.
The 'Single Tile' rule: If you can fit a yoga mat, you can fit a bike.
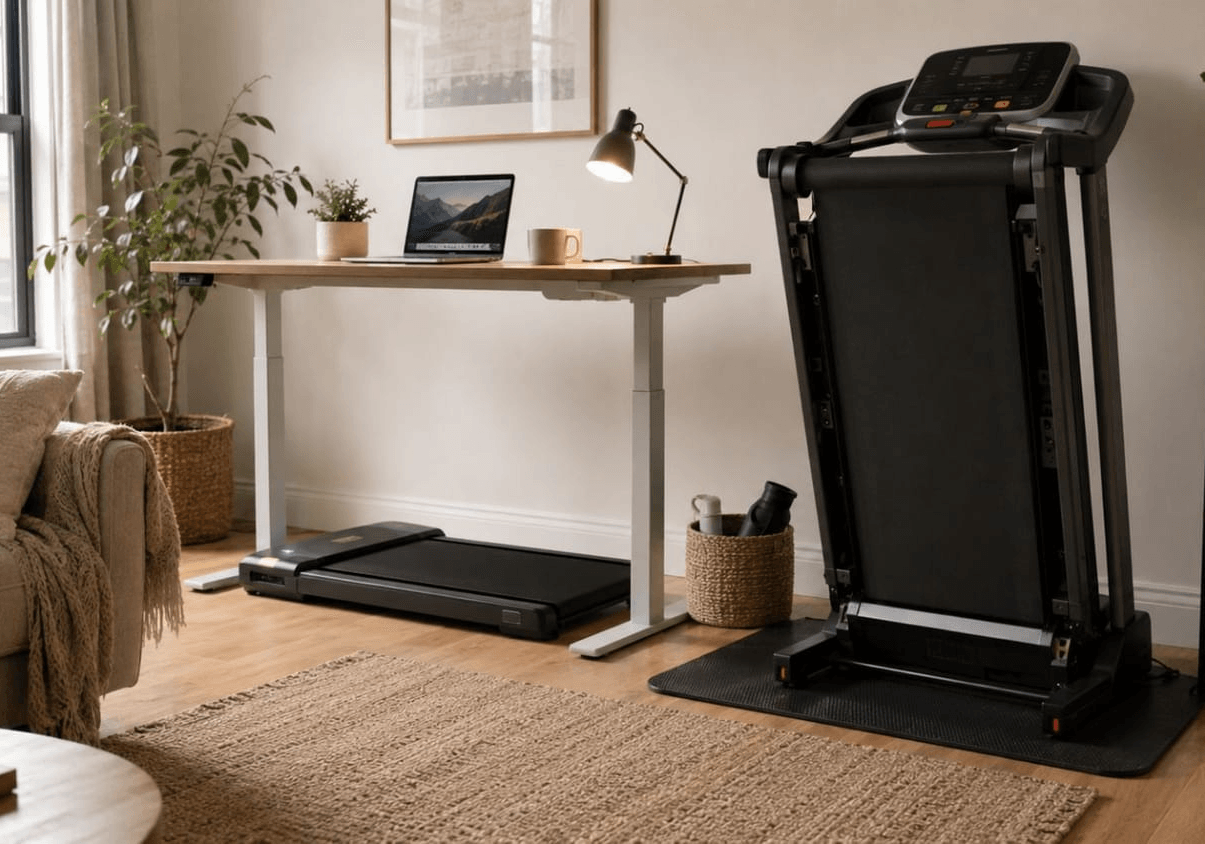
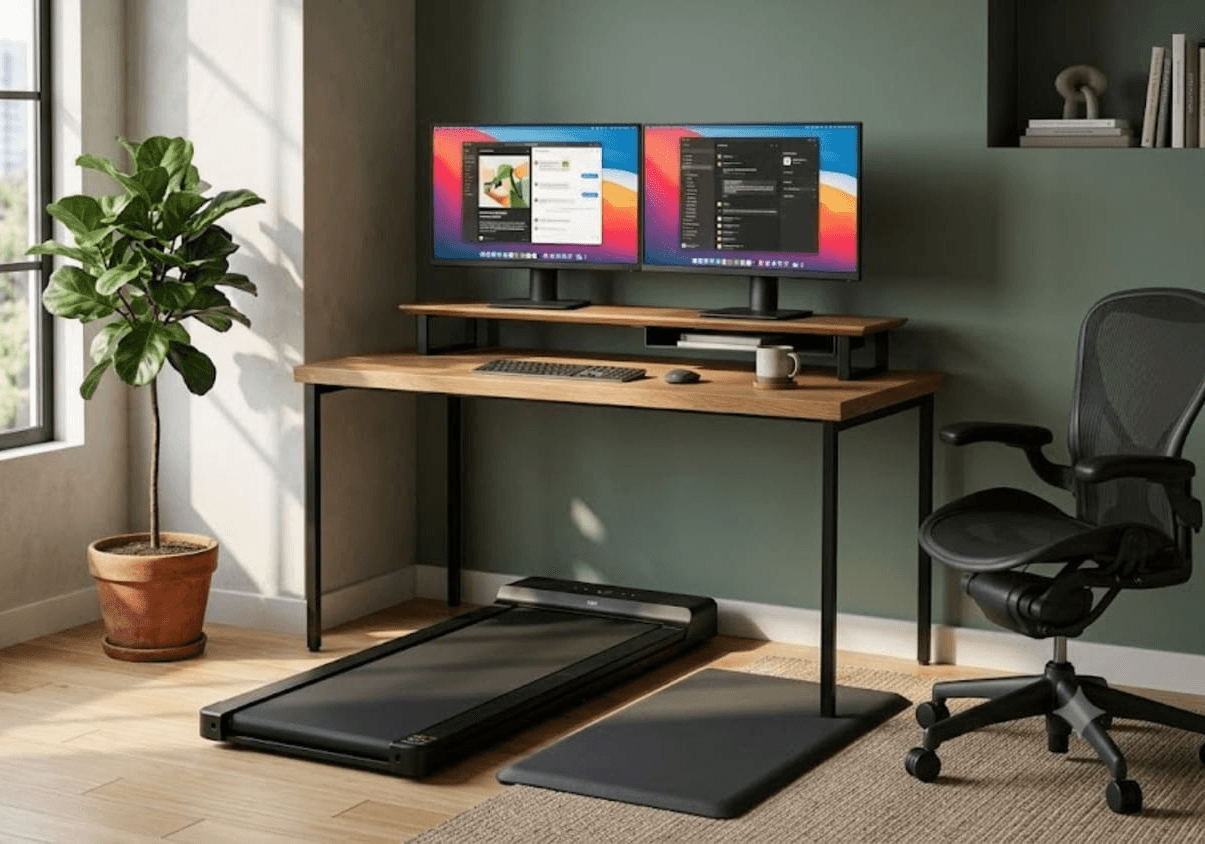
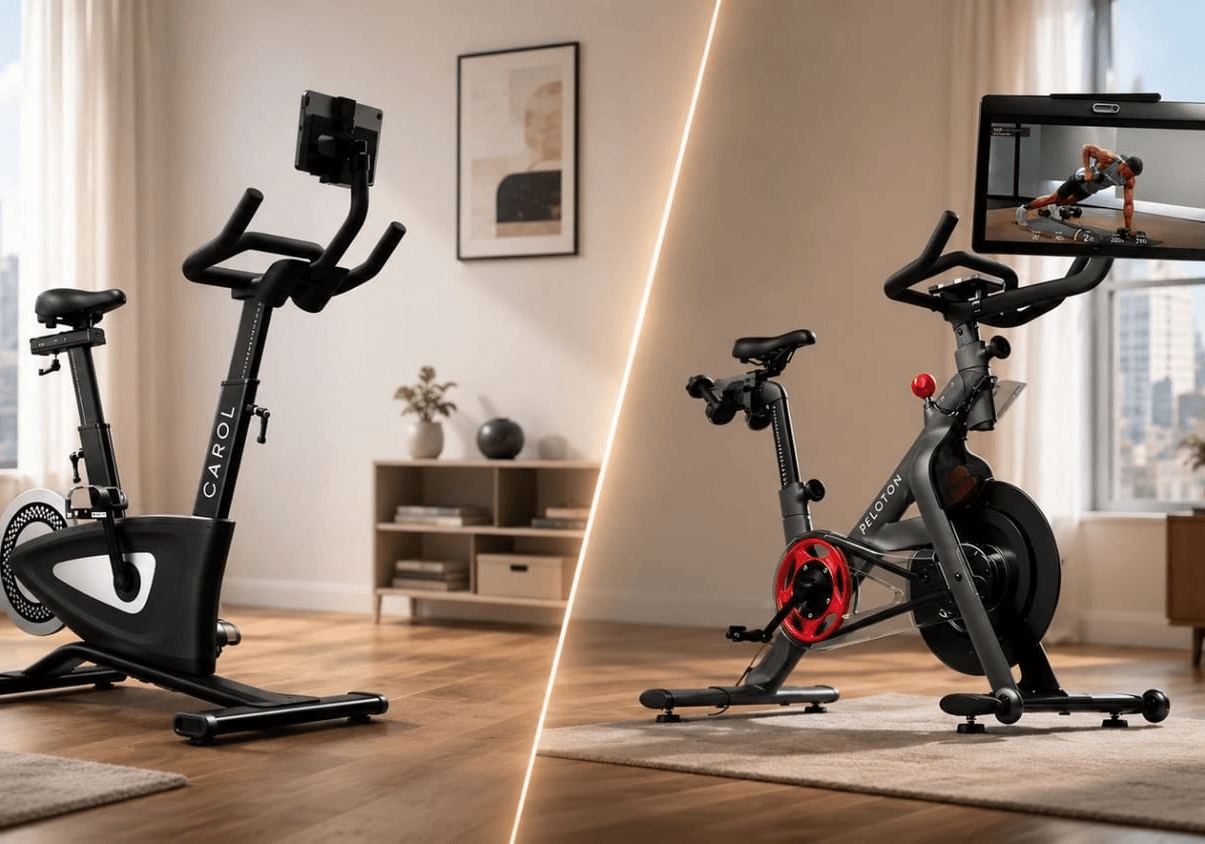
Bike vs treadmill vs rower — which wins for small spaces?
If you're choosing between home cardio machines for a tight apartment, this is the comparison that matters. Each machine has a genuine use case — none is universally superior — but for small home gym buyers, the trade-offs are decisive.
Footprint comparison
Noise comparison
Exercise bike (magnetic): 40–50 dB — library-quiet. Treadmill: 60–75 dB — equivalent to a normal conversation or vacuum cleaner. Neighbors below will hear footfall impact regardless of mat quality. Rower (air resistance): 60–70 dB fan noise. Magnetic rowers are quieter but still louder than a stationary bike.
For apartment-specific cardio, the magnetic exercise bike wins on every metric that apartment living makes non-negotiable: footprint, noise floor, and price-to-performance at the mid tier.
Our top apartment picks
Every bike below was evaluated against the same criteria: steel frame, magnetic resistance, belt drive, flywheel 18 lbs+, footprint under 48", and warranty of at least 1 year on parts. These aren't paid placements — they're the models that survive the durability test at their respective price points.
Best overall: Sunny Health & Fitness SF-B1805
A 44 lb flywheel in an upright frame that fits a 20"×46" footprint. Magnetic resistance with 40 micro-adjustable levels, belt drive, and a 5-year frame warranty at a price that reliably sits under $450. The heaviest flywheel at this price point — ride feel is genuinely smooth. View on Amazon →
Best for higher weight capacity: YOSUDA Pro Magnetic
Rated to 350 lbs with a reinforced steel frame, 16-level magnetic resistance, and a belt drive system. Footprint is 40"×22". Ideal for buyers who need a higher structural limit without moving into commercial-tier pricing. View on Amazon →
Best for ultra-quiet operation: JOROTO X2
Whisper-quiet belt drive paired with a 35 lb flywheel and 40 resistance levels. The handlebar is multi-grip and adjustable across both height and fore/aft position — rare at this price. Great for anyone sharing a wall with a light sleeper. View on Amazon →
Best footprint: DMASUN Compact Magnetic
Under 36" long with the seat at minimum height. The most space-efficient magnetic-resistance upright bike currently available at a reasonable price. Flywheel is lighter (30 lbs) but sufficient for steady-state and moderate interval work. If square footage is the primary constraint, this is the pick. View on Amazon →
Your exercise bike final checklist
Before you buy and before you ride — run through this list. Everything ticked means you're set up for long-term success, not a bike gathering dust in the corner. For a broader look at how exercise bikes fit alongside other renter-friendly gear, the compact home gym setup guide for small spaces is a useful companion read.

I test every piece of gear in my actual apartment — noise, footprint, deposit-safety, and real-world durability. No sponsored samples, no showroom conditions. If I wouldn't buy it for my own 350 sq ft studio, I don't recommend it.
Featured Guides
Your go-to reading list for building a compact, beautiful home gym — without losing your deposit, your floor space, or your vibe.


Real gear, real spaces. Helping women build beautiful home gyms that actually fit apartment life.
Shop Amazon ↗Strength
Cardio